Case Study

Adobe | Project Auguste

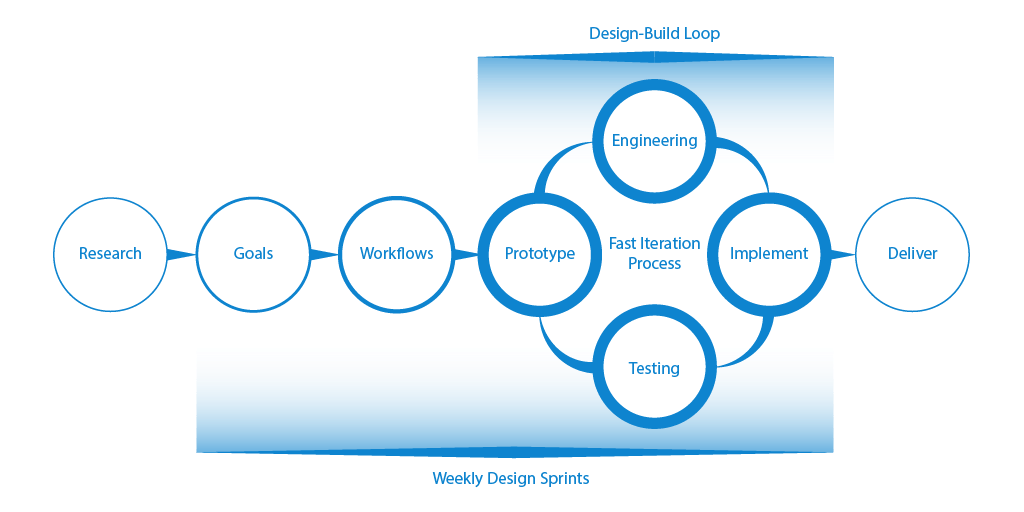
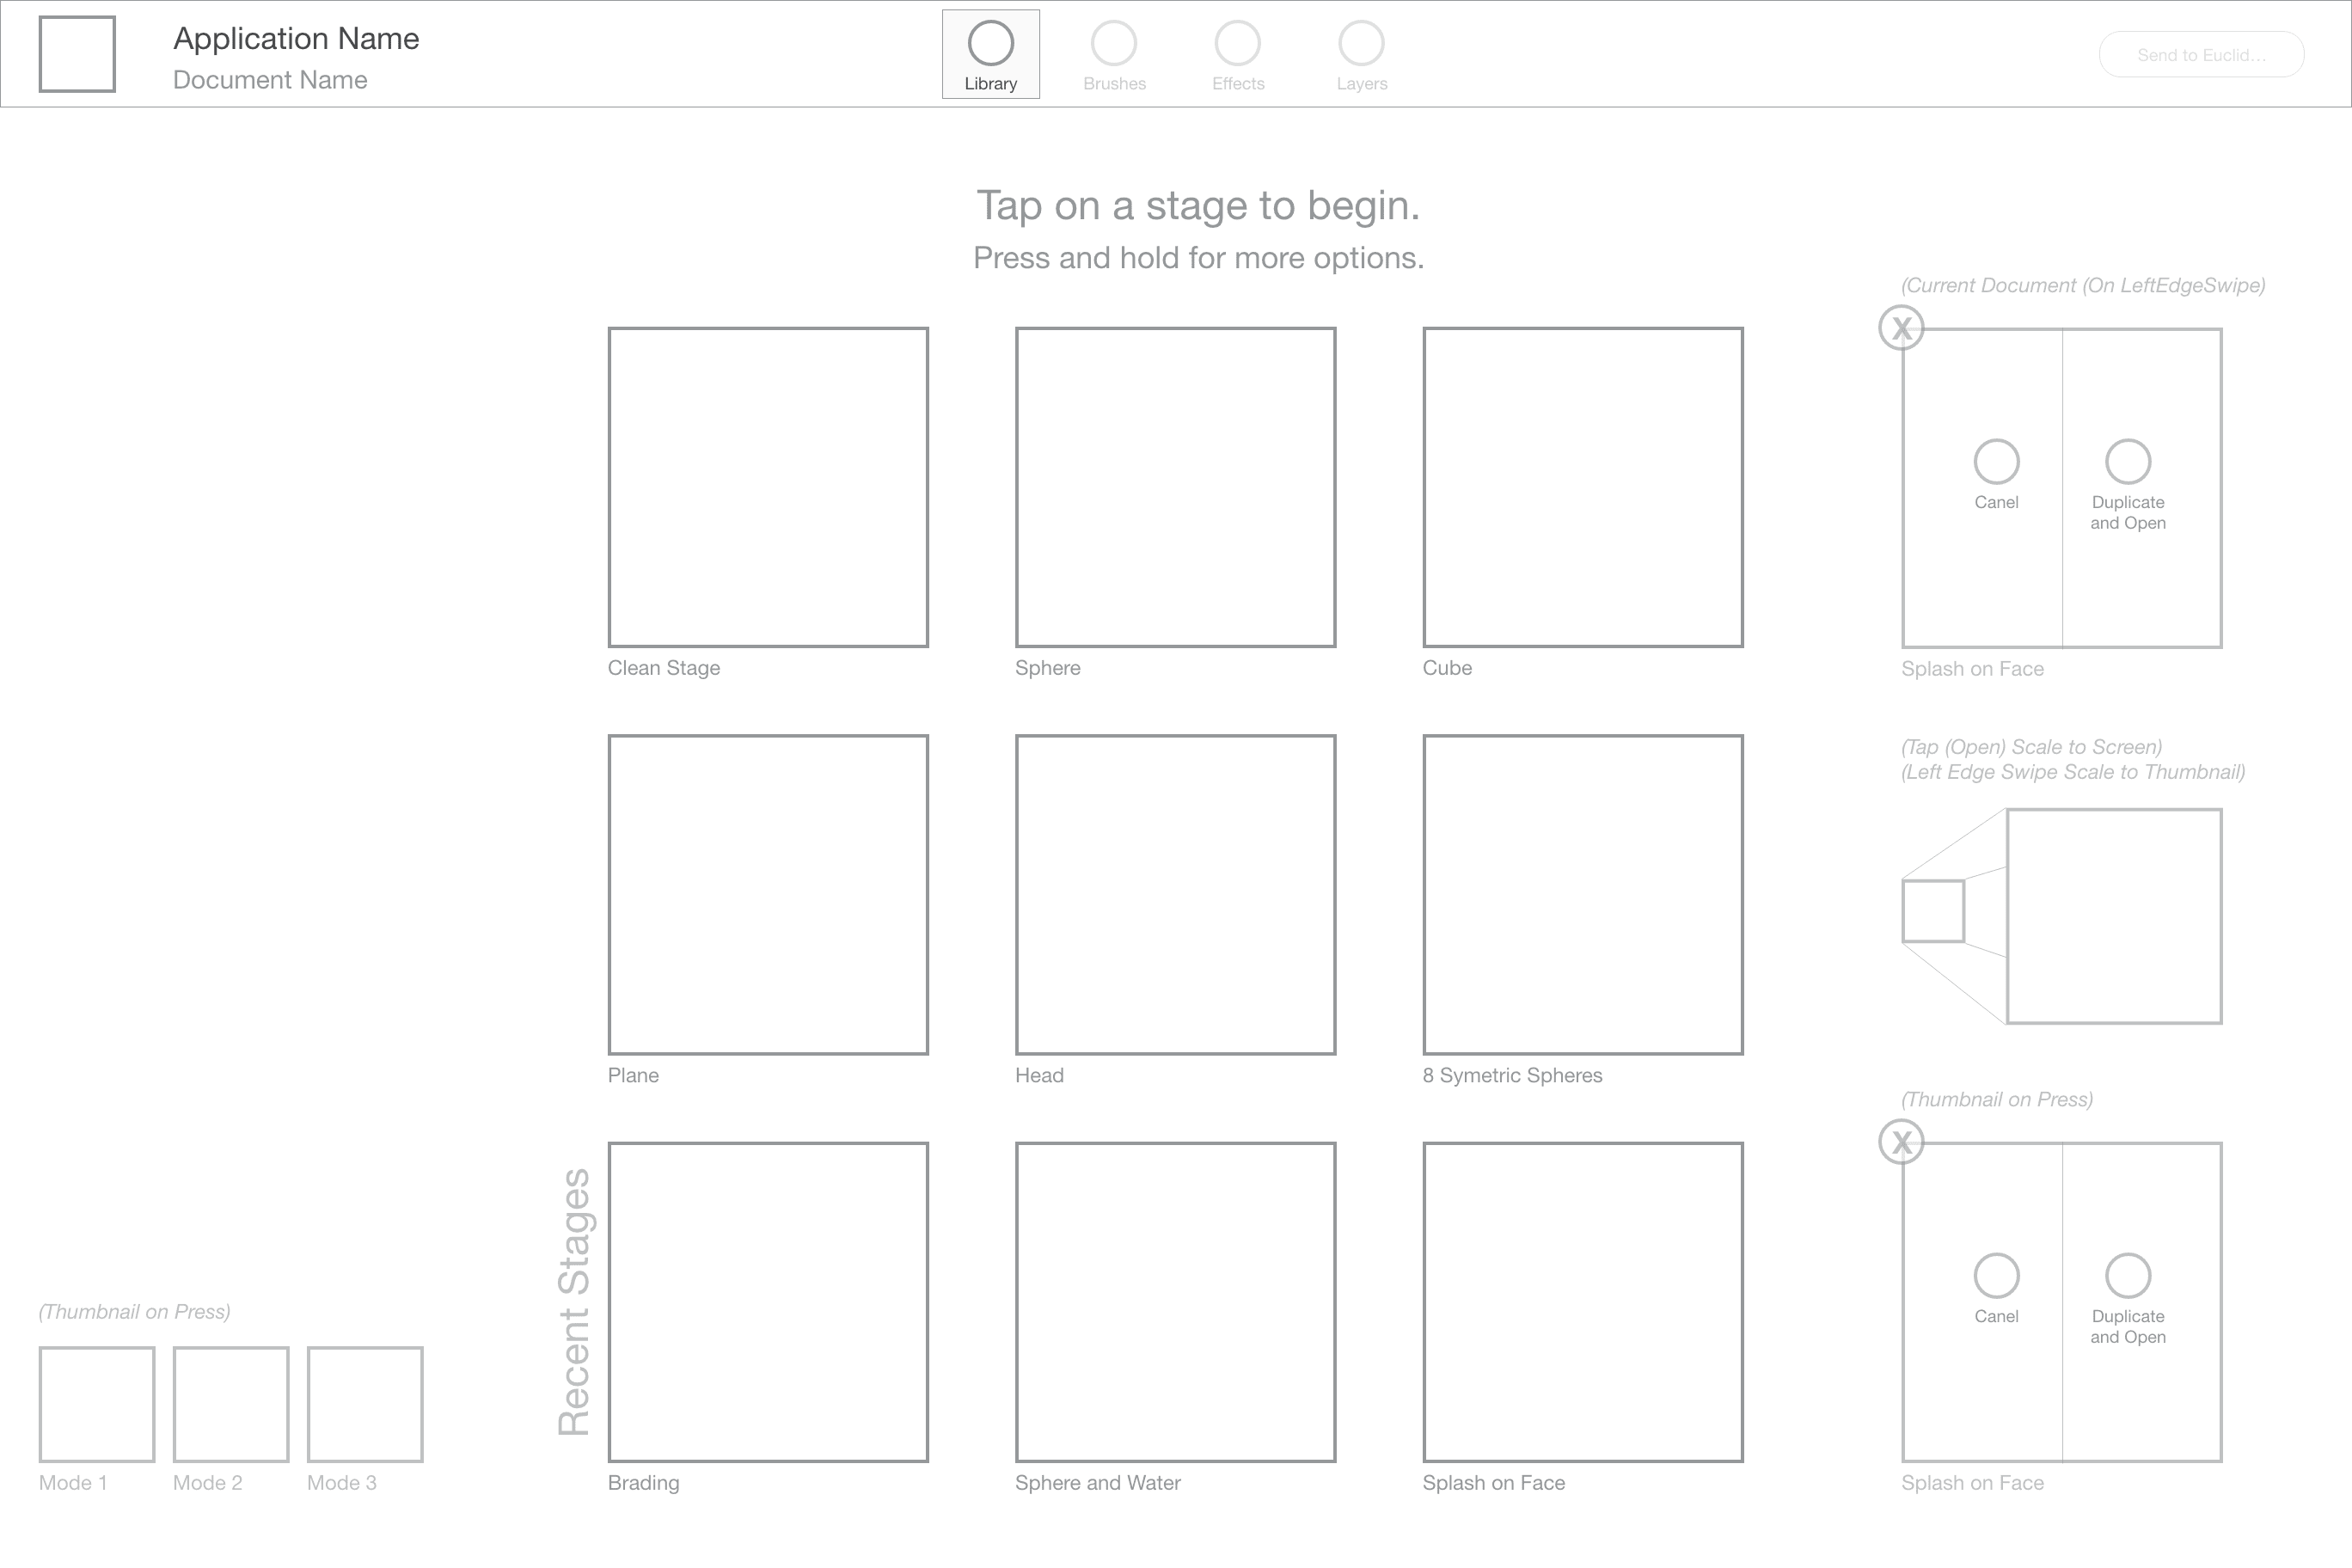
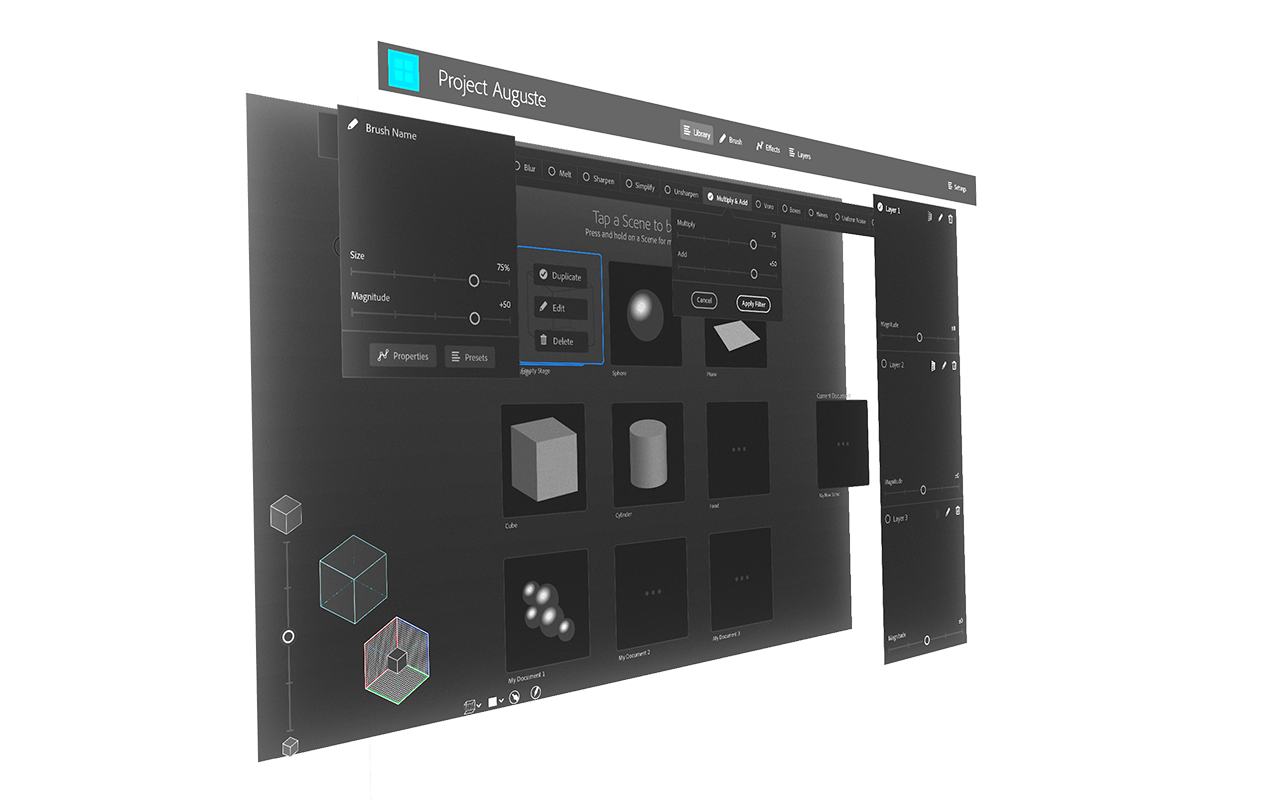
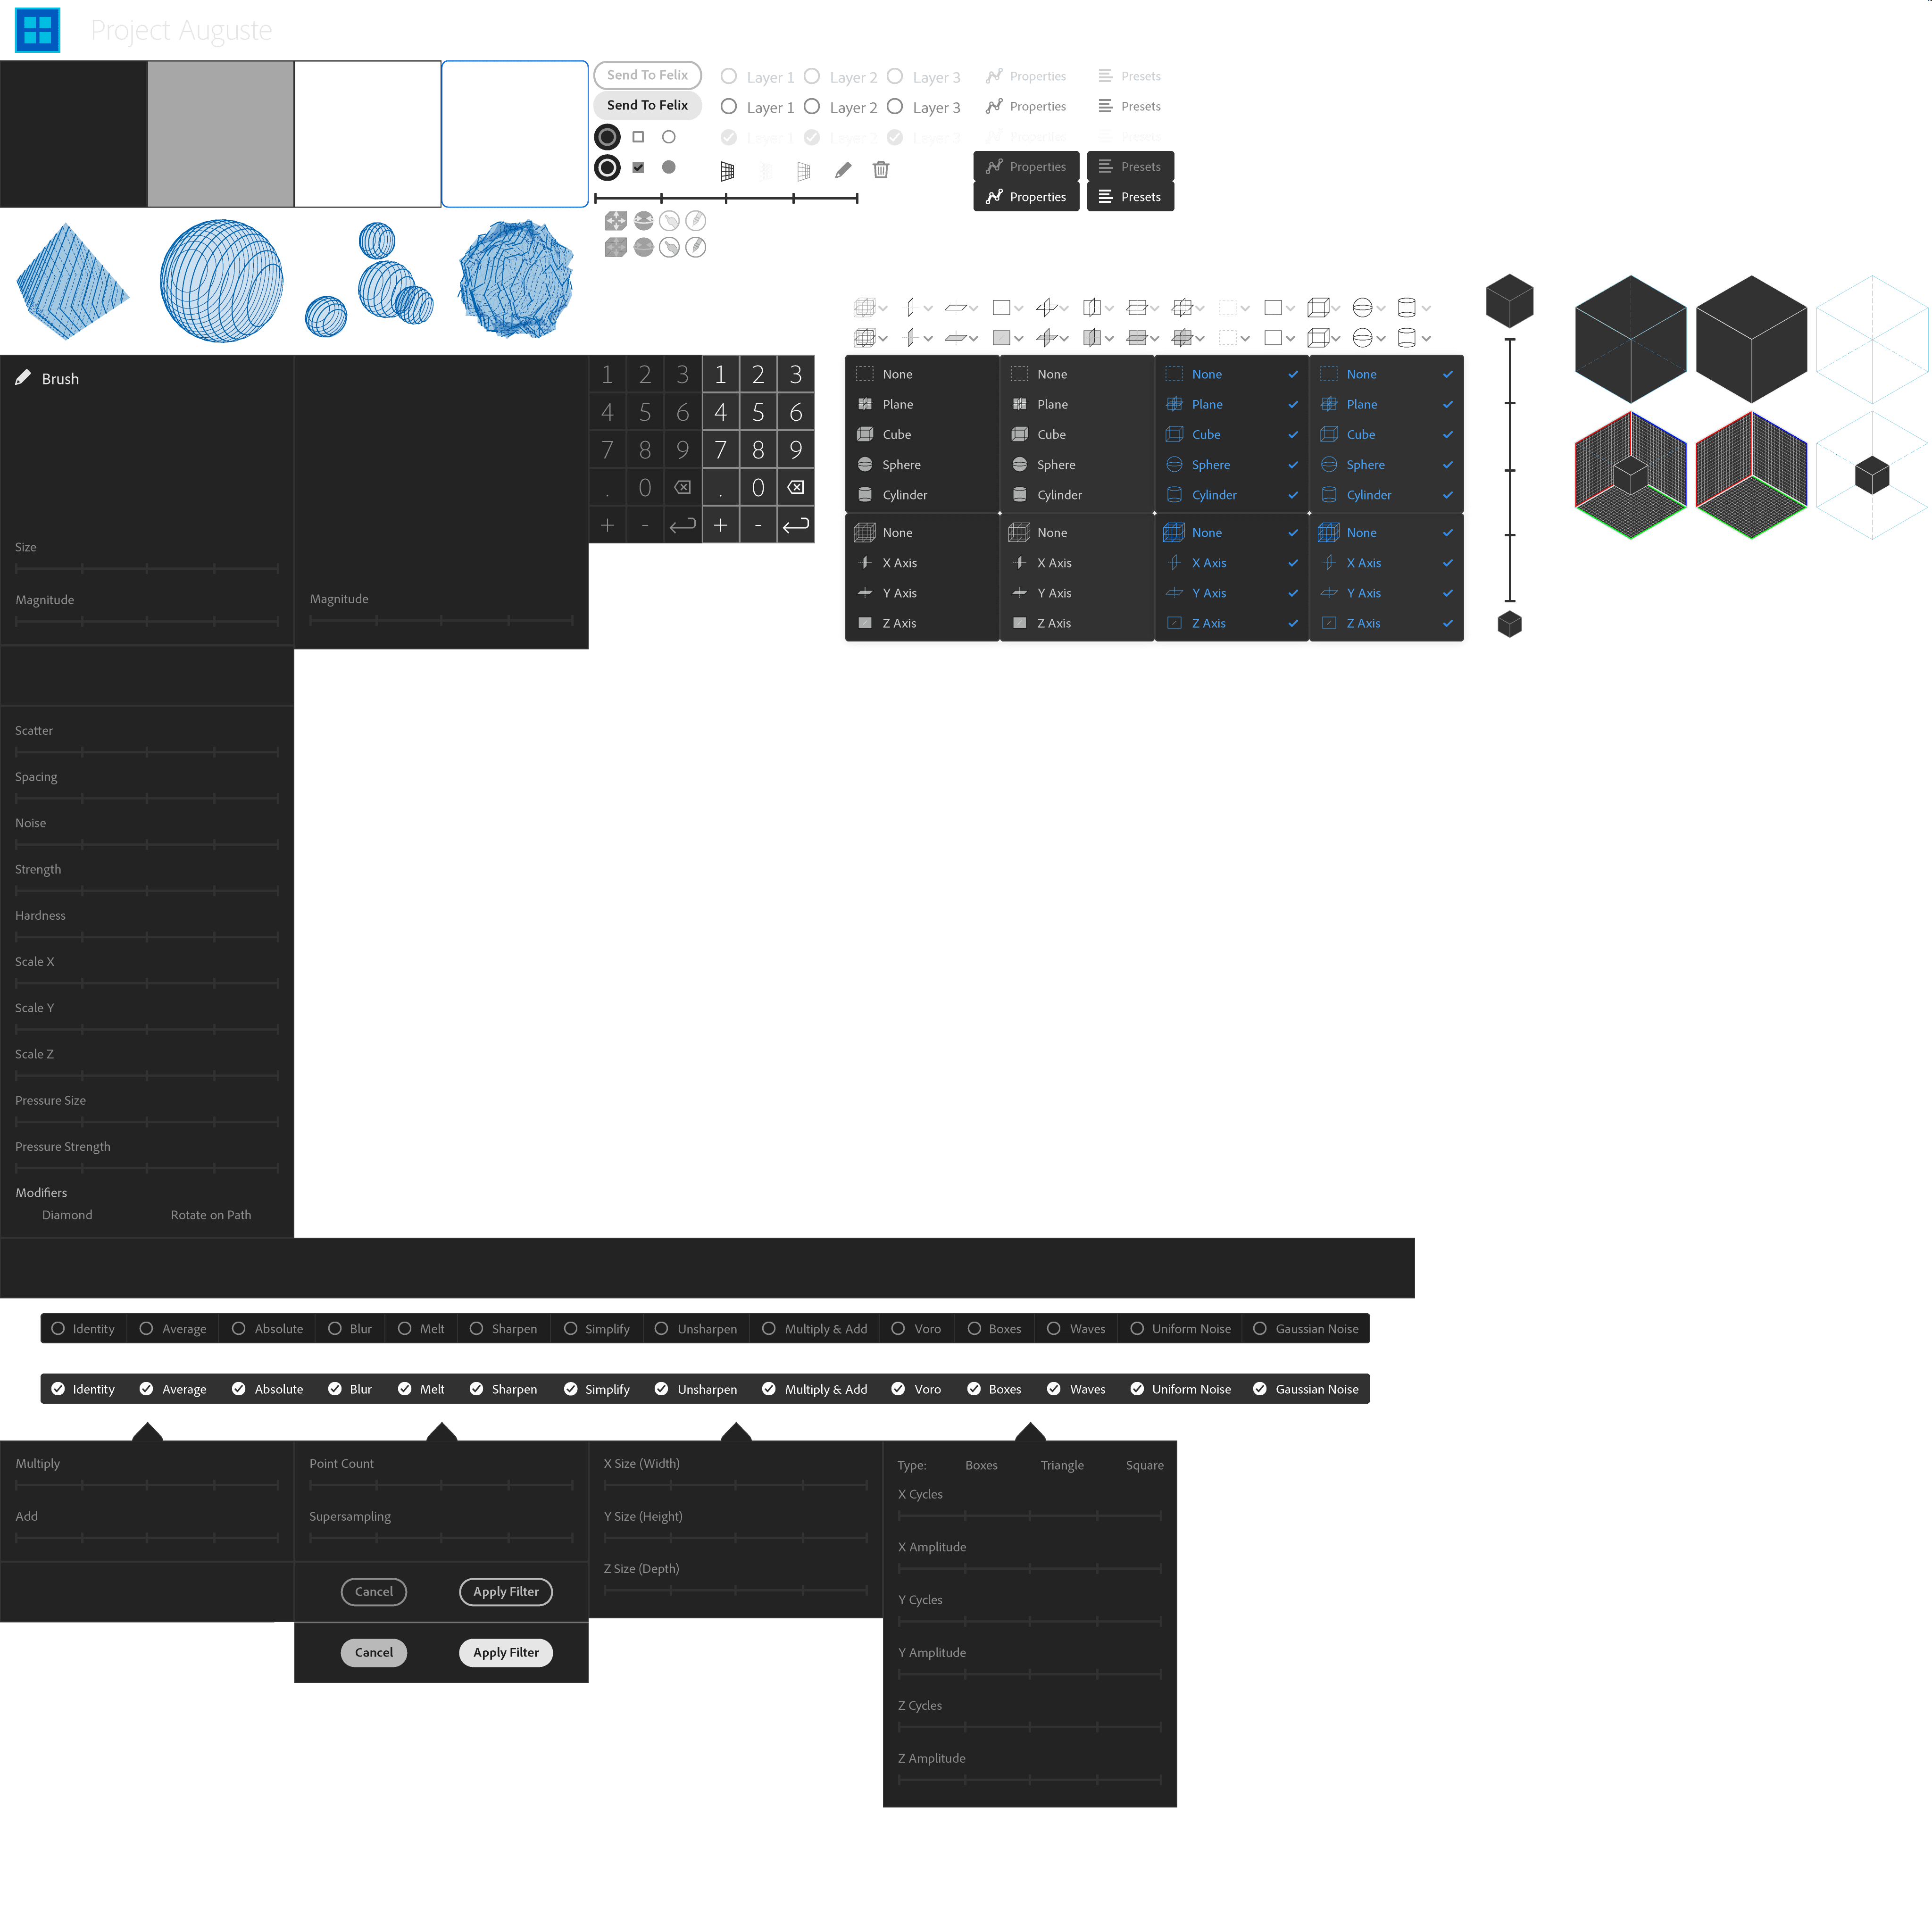
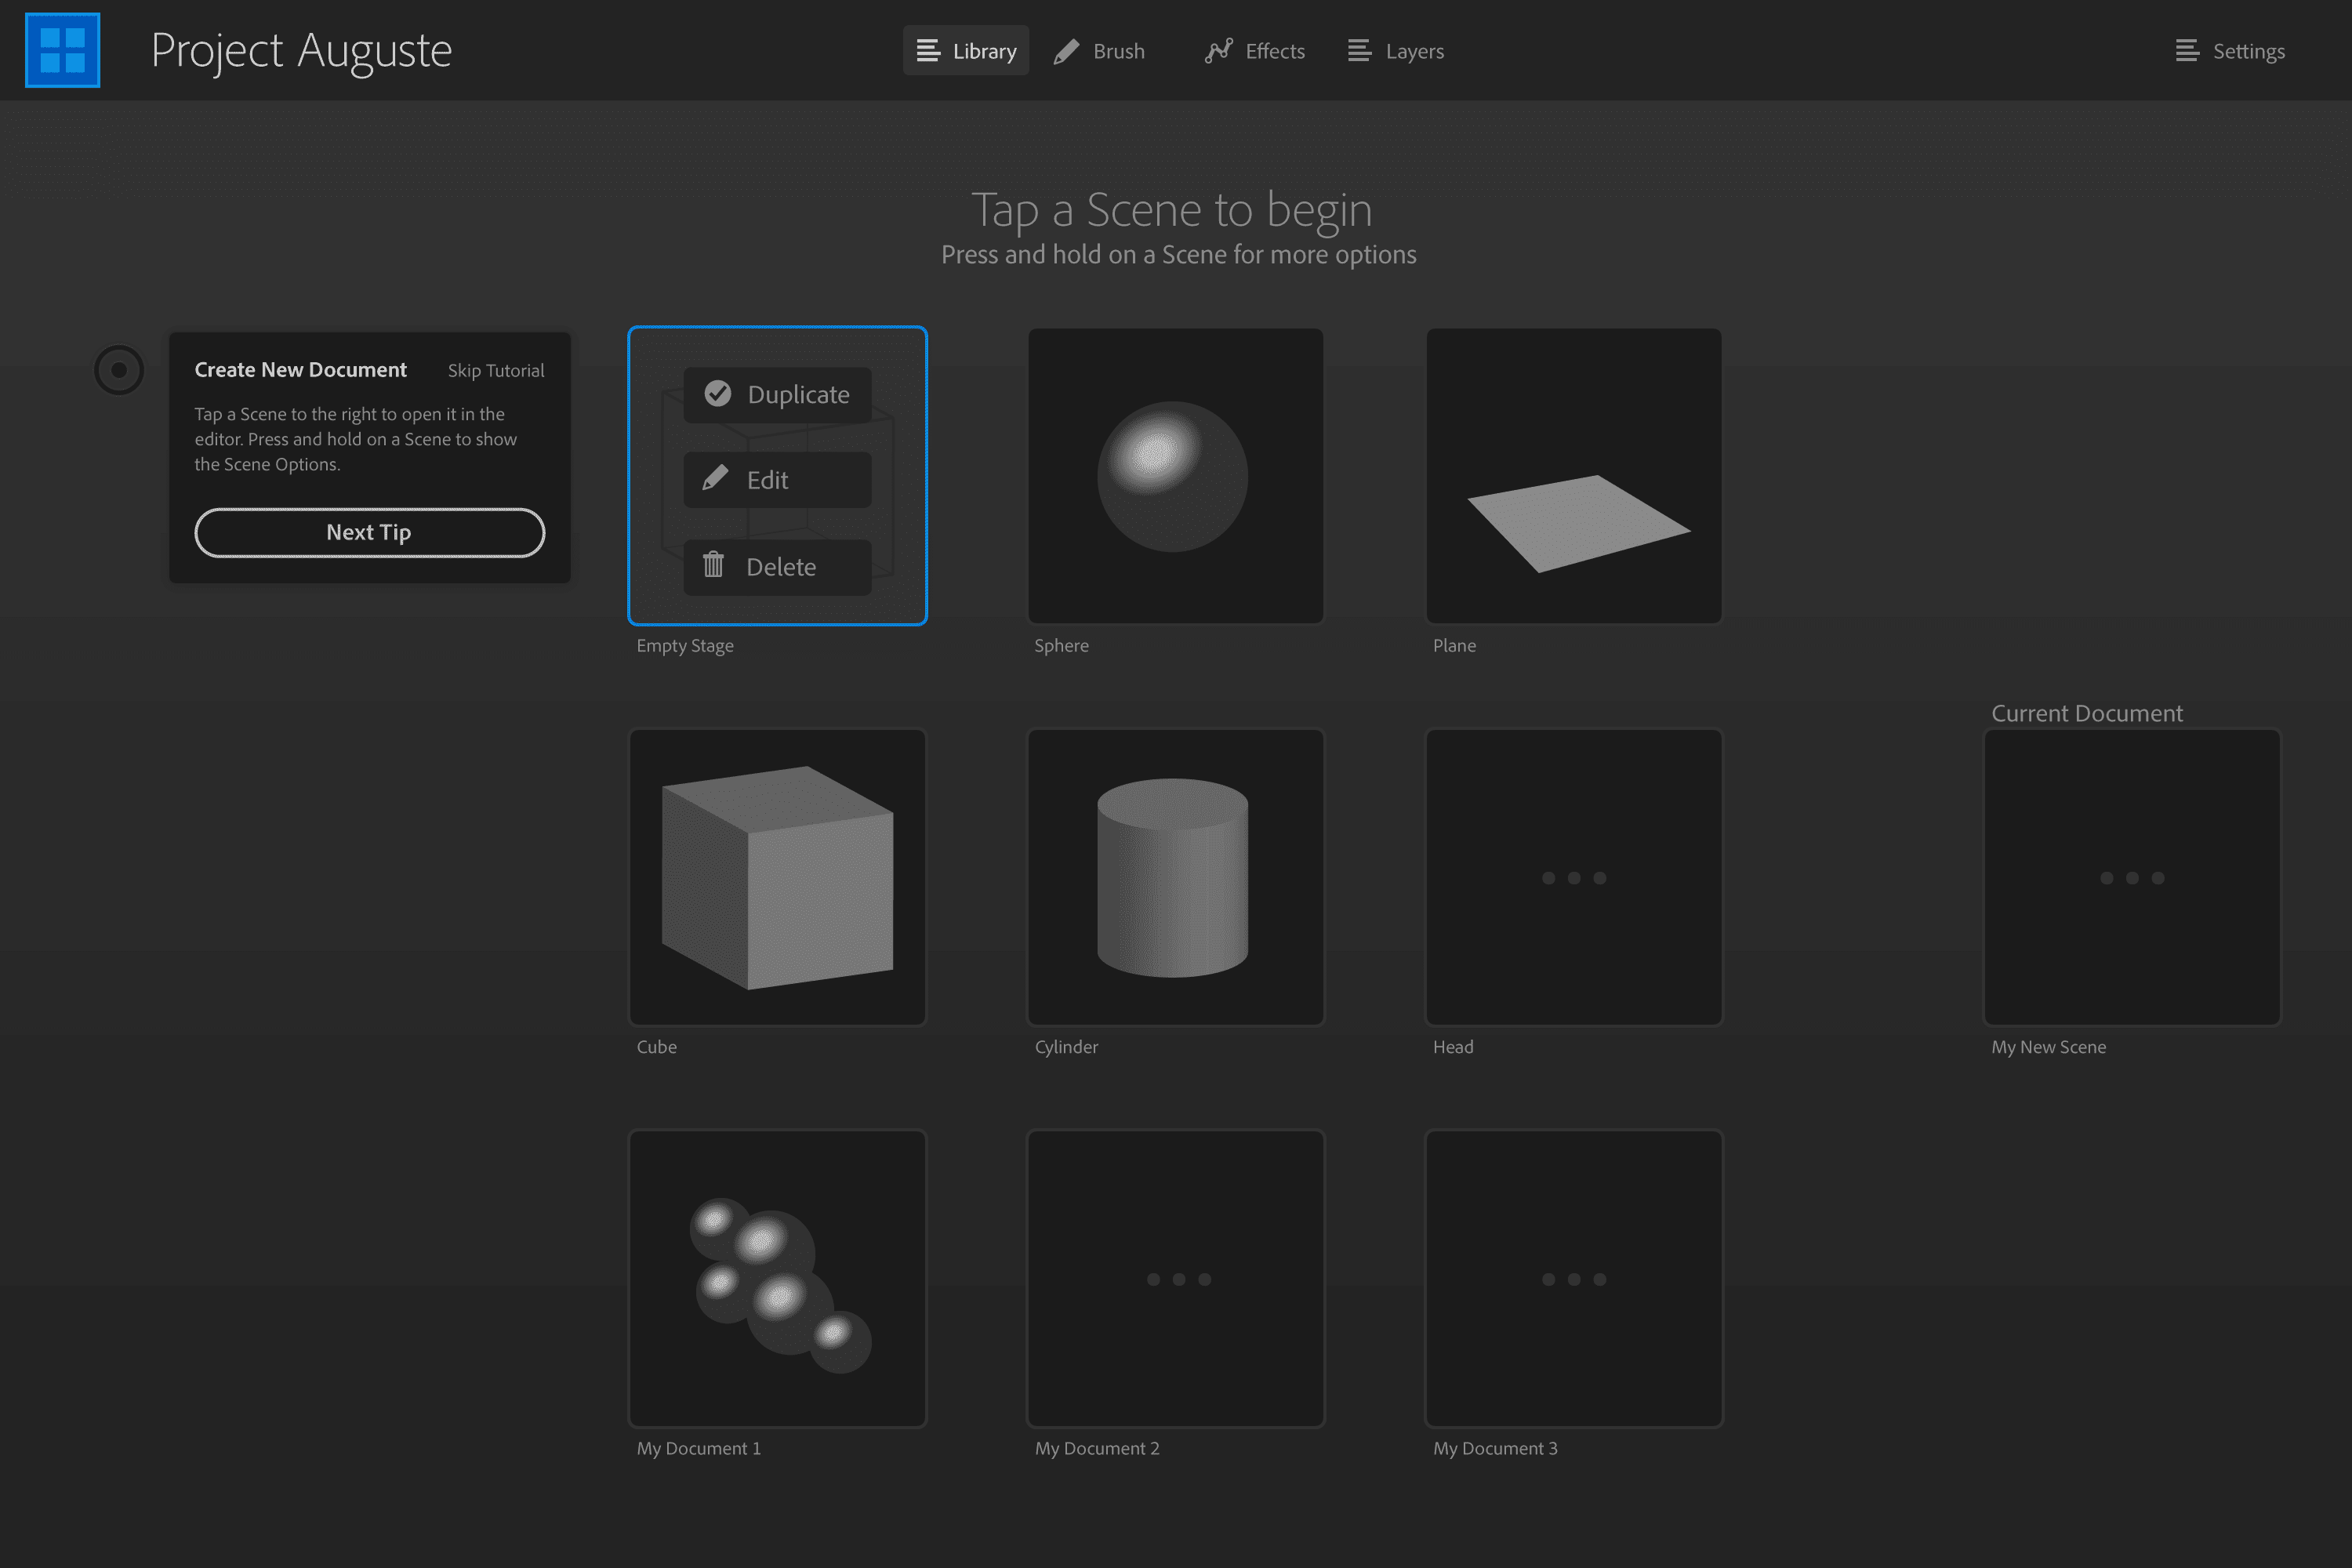
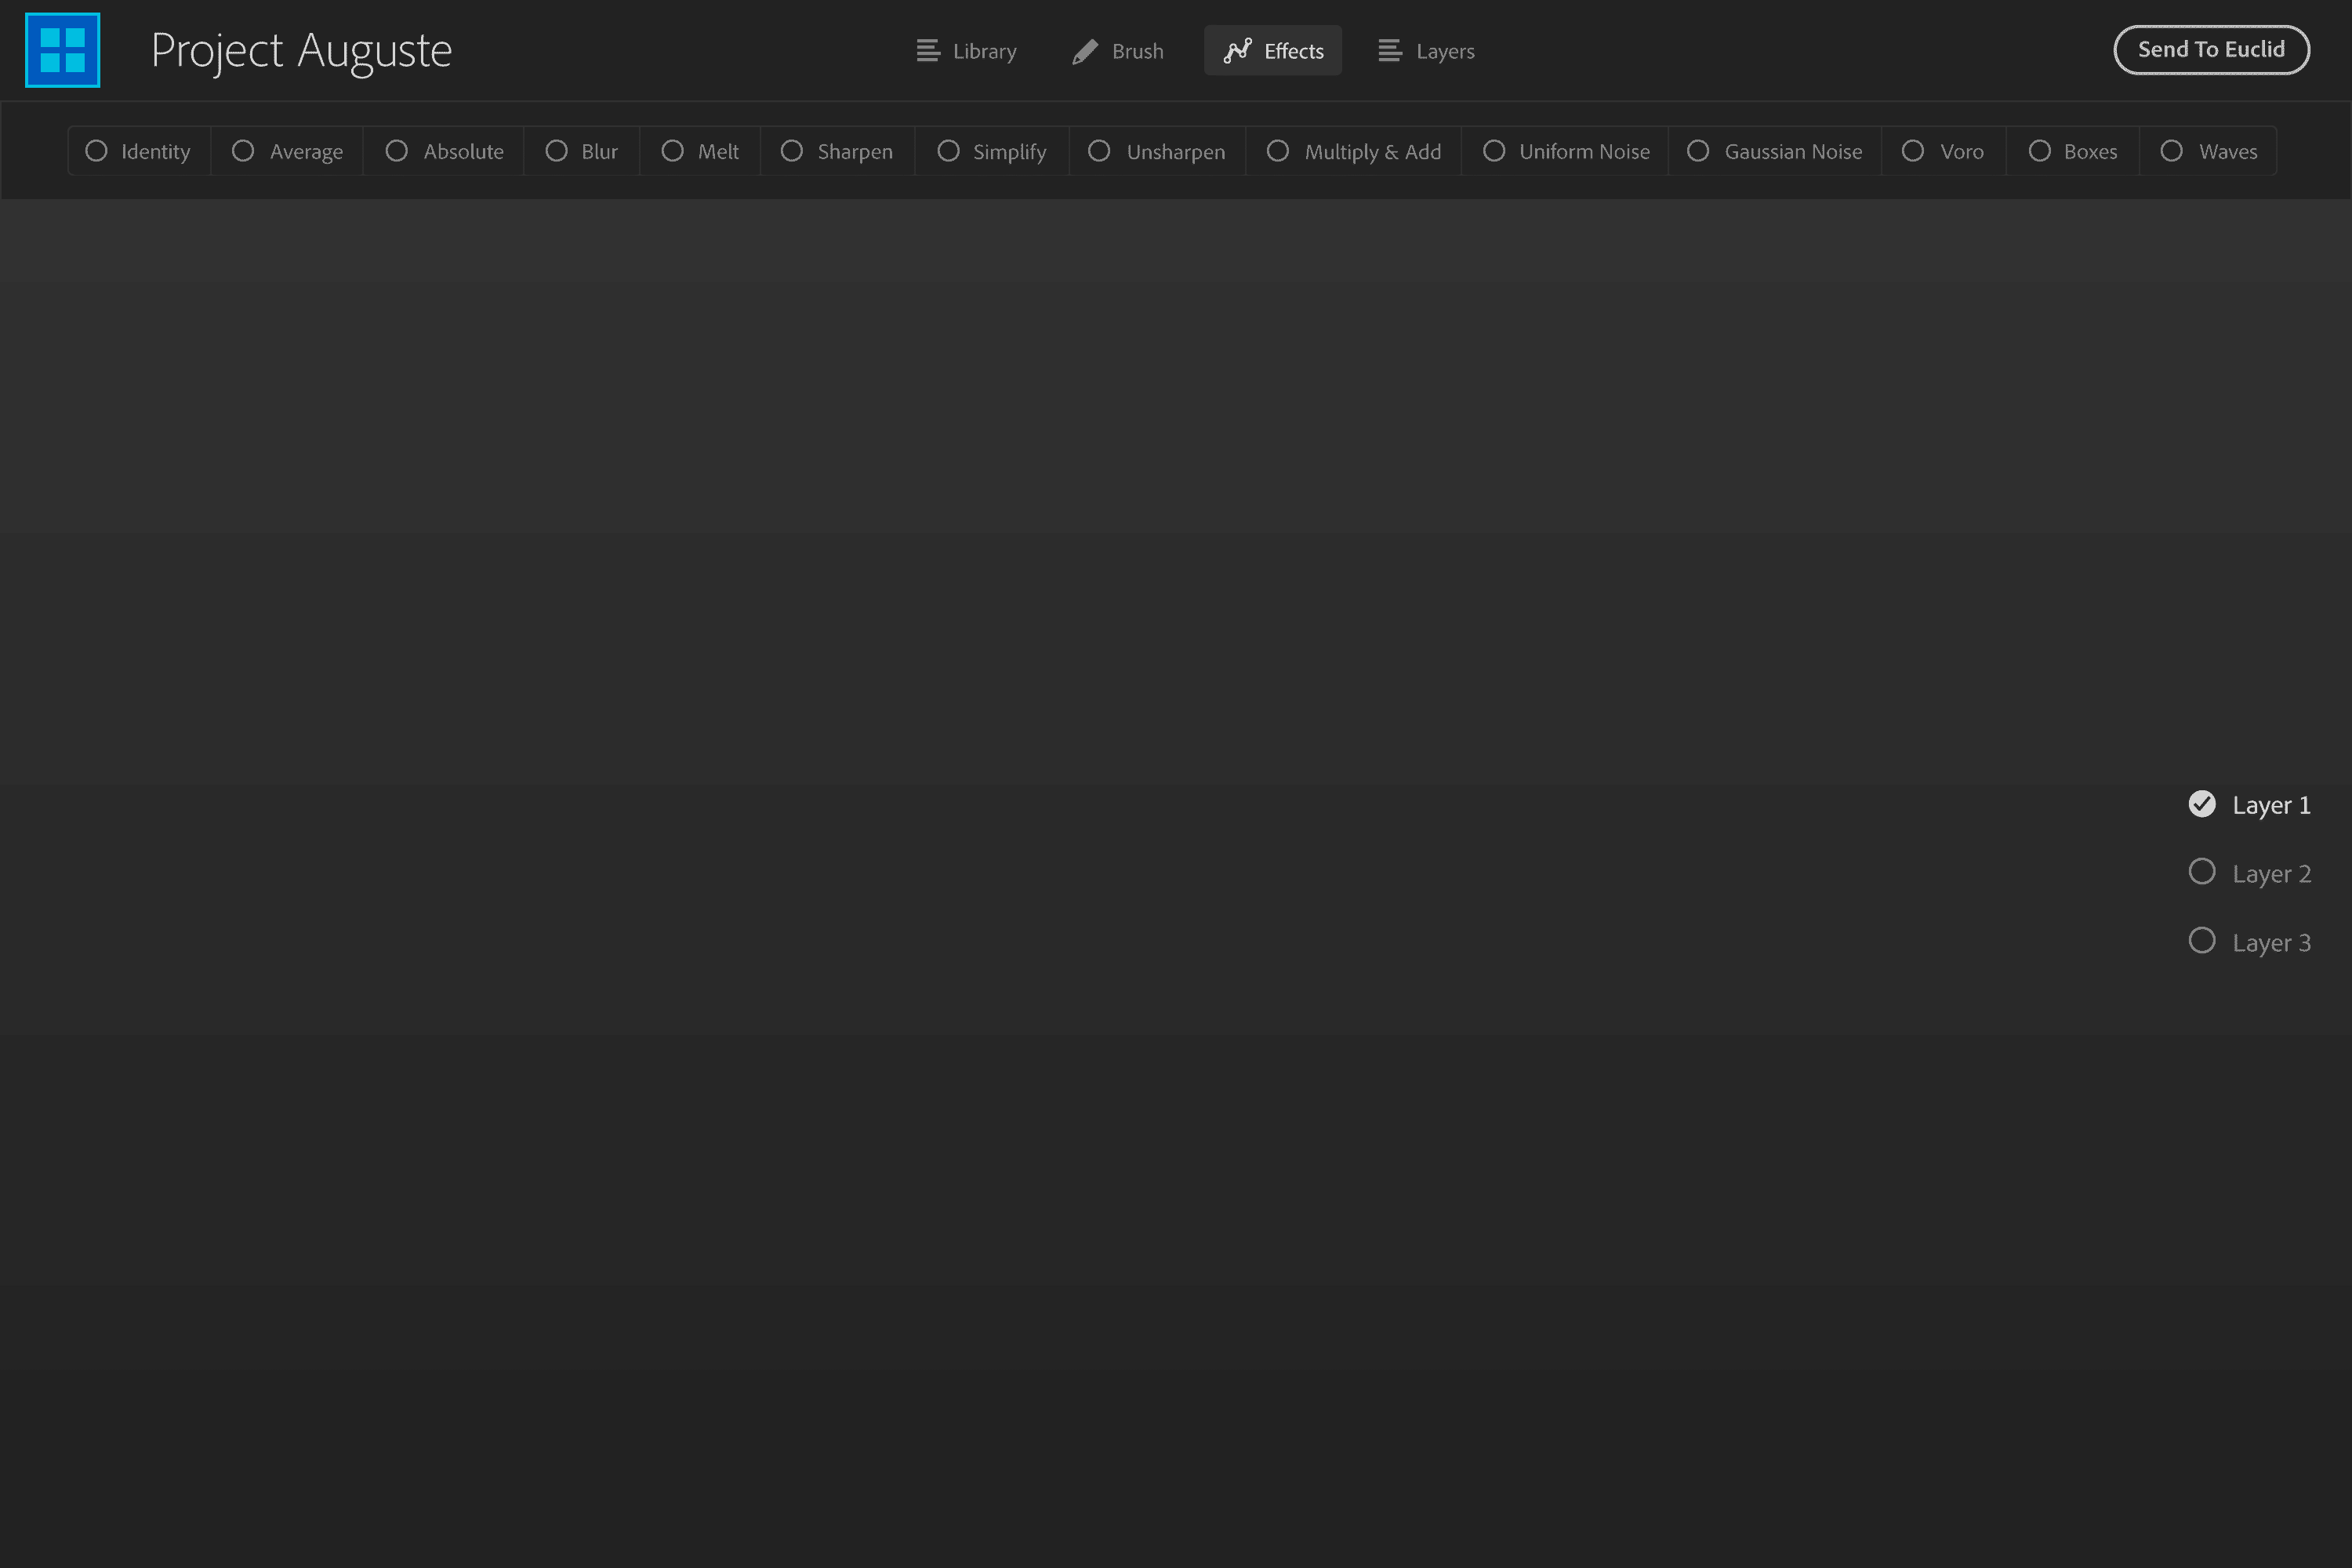
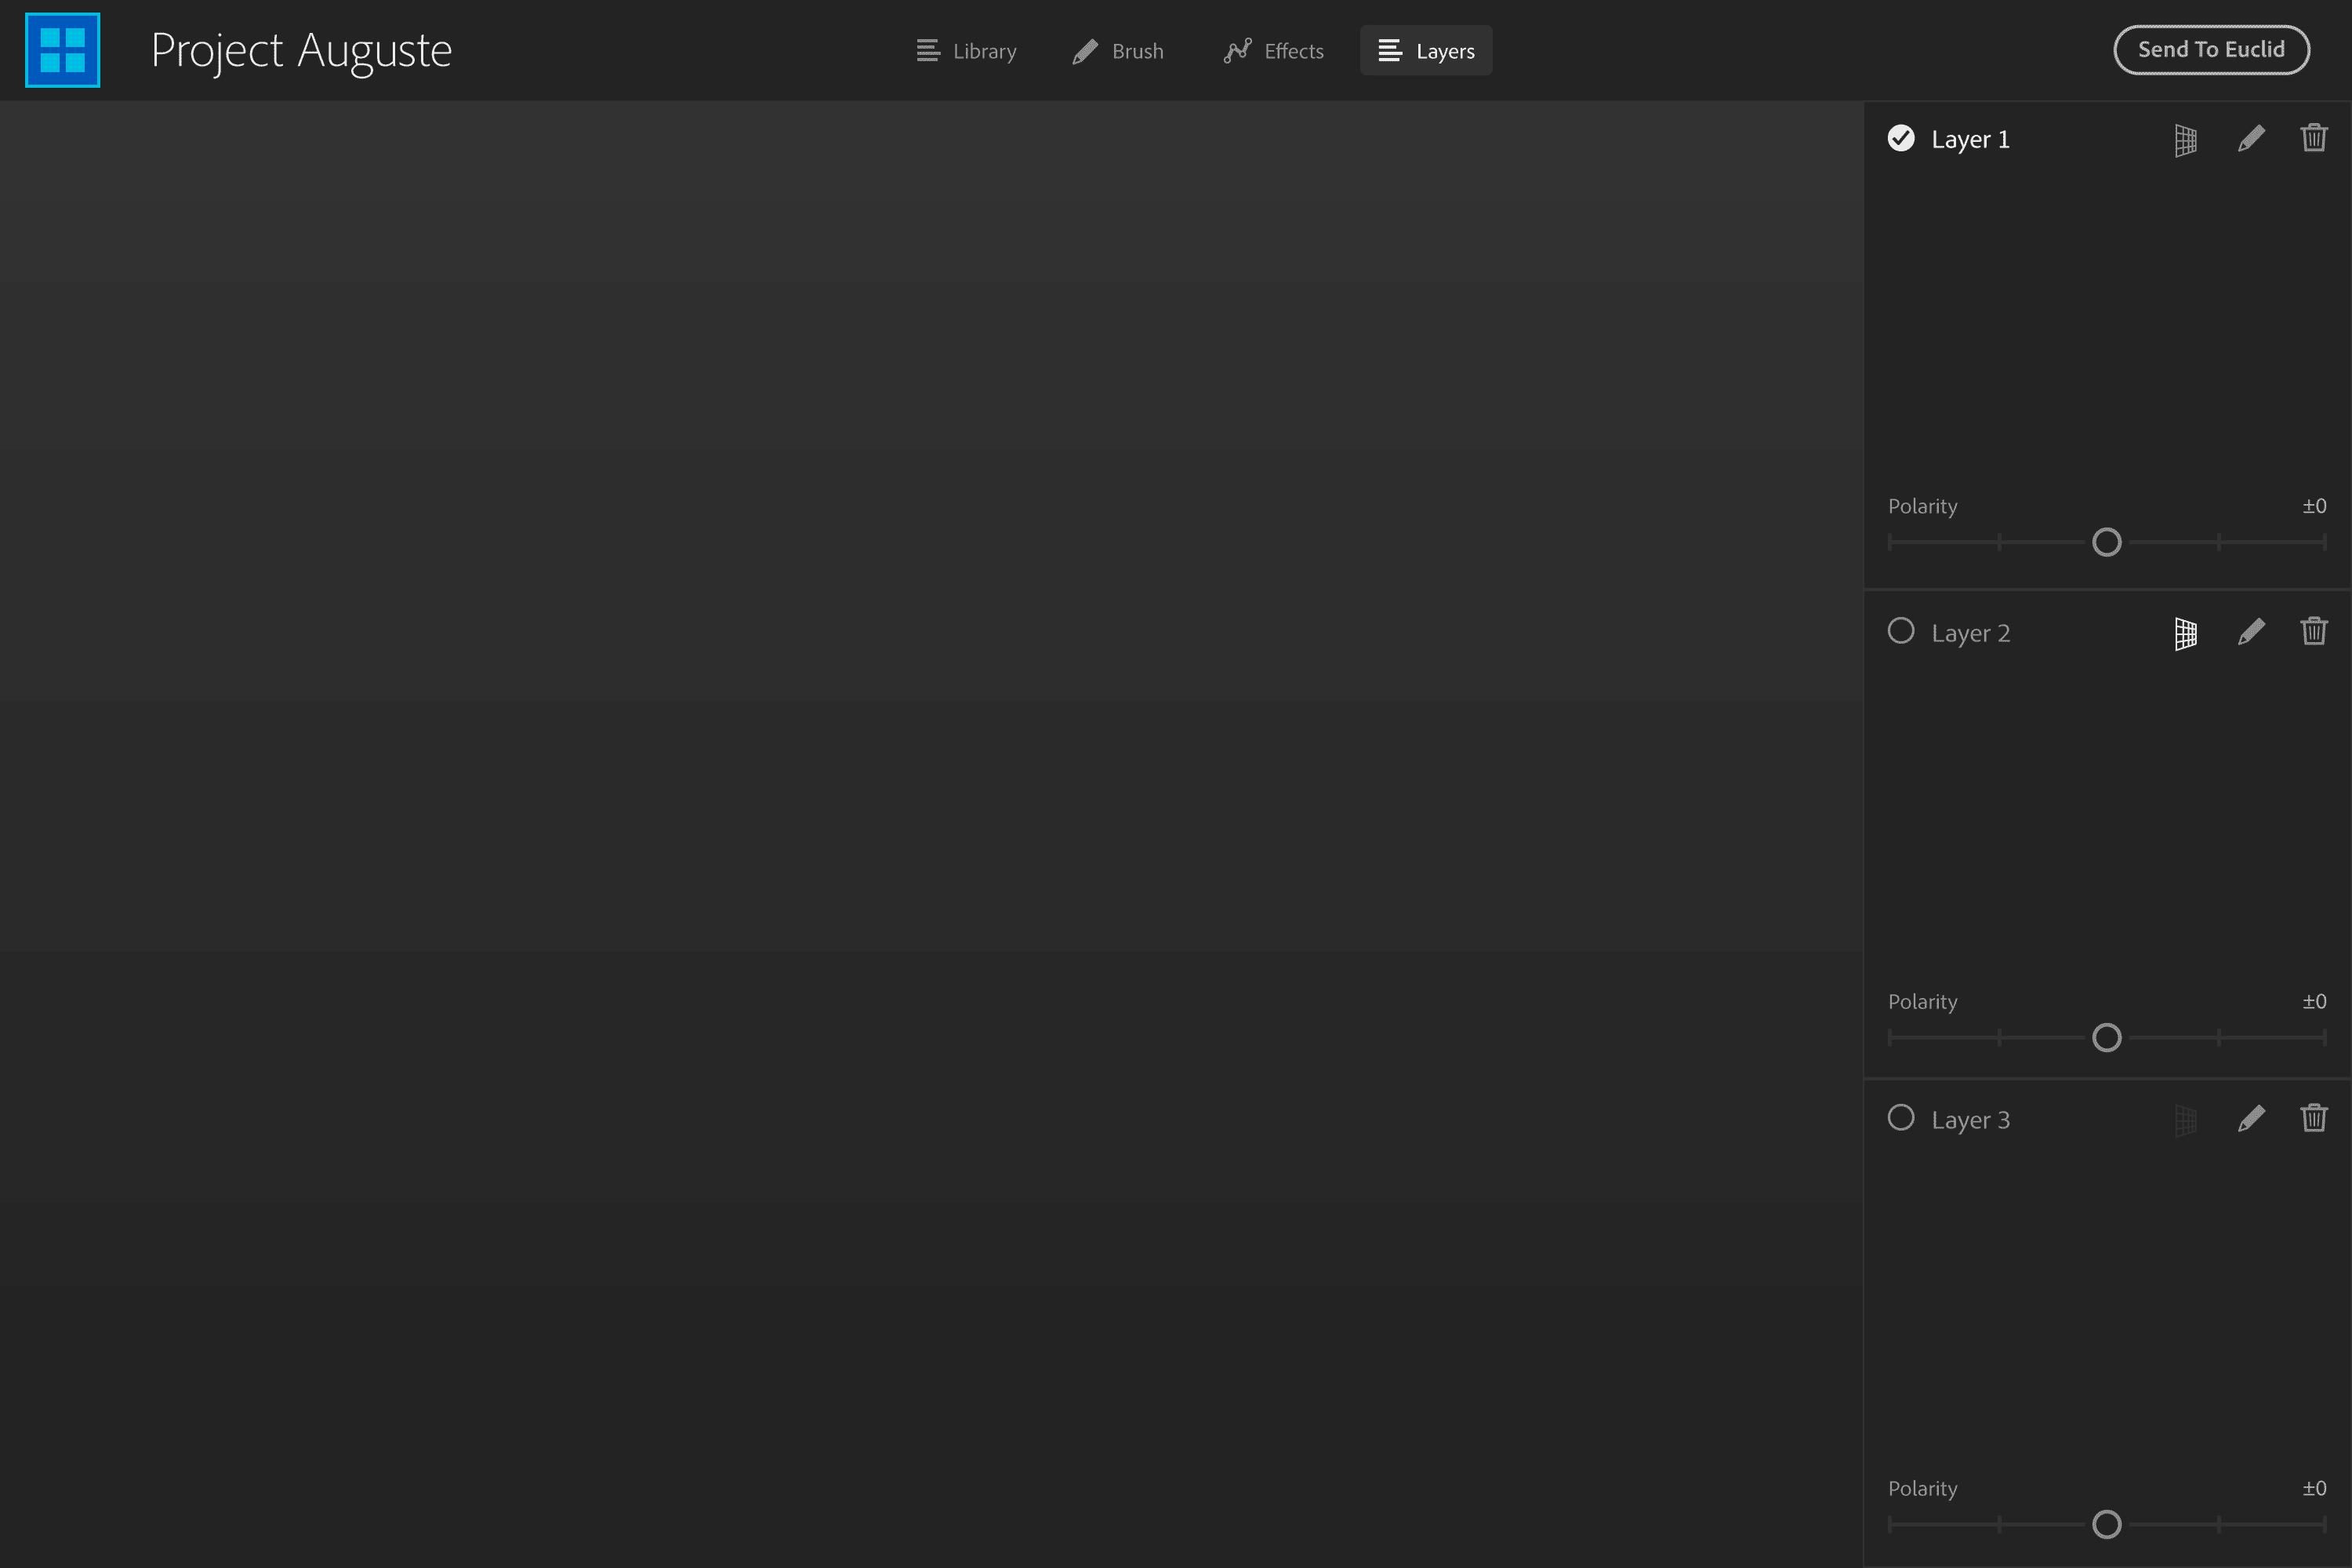
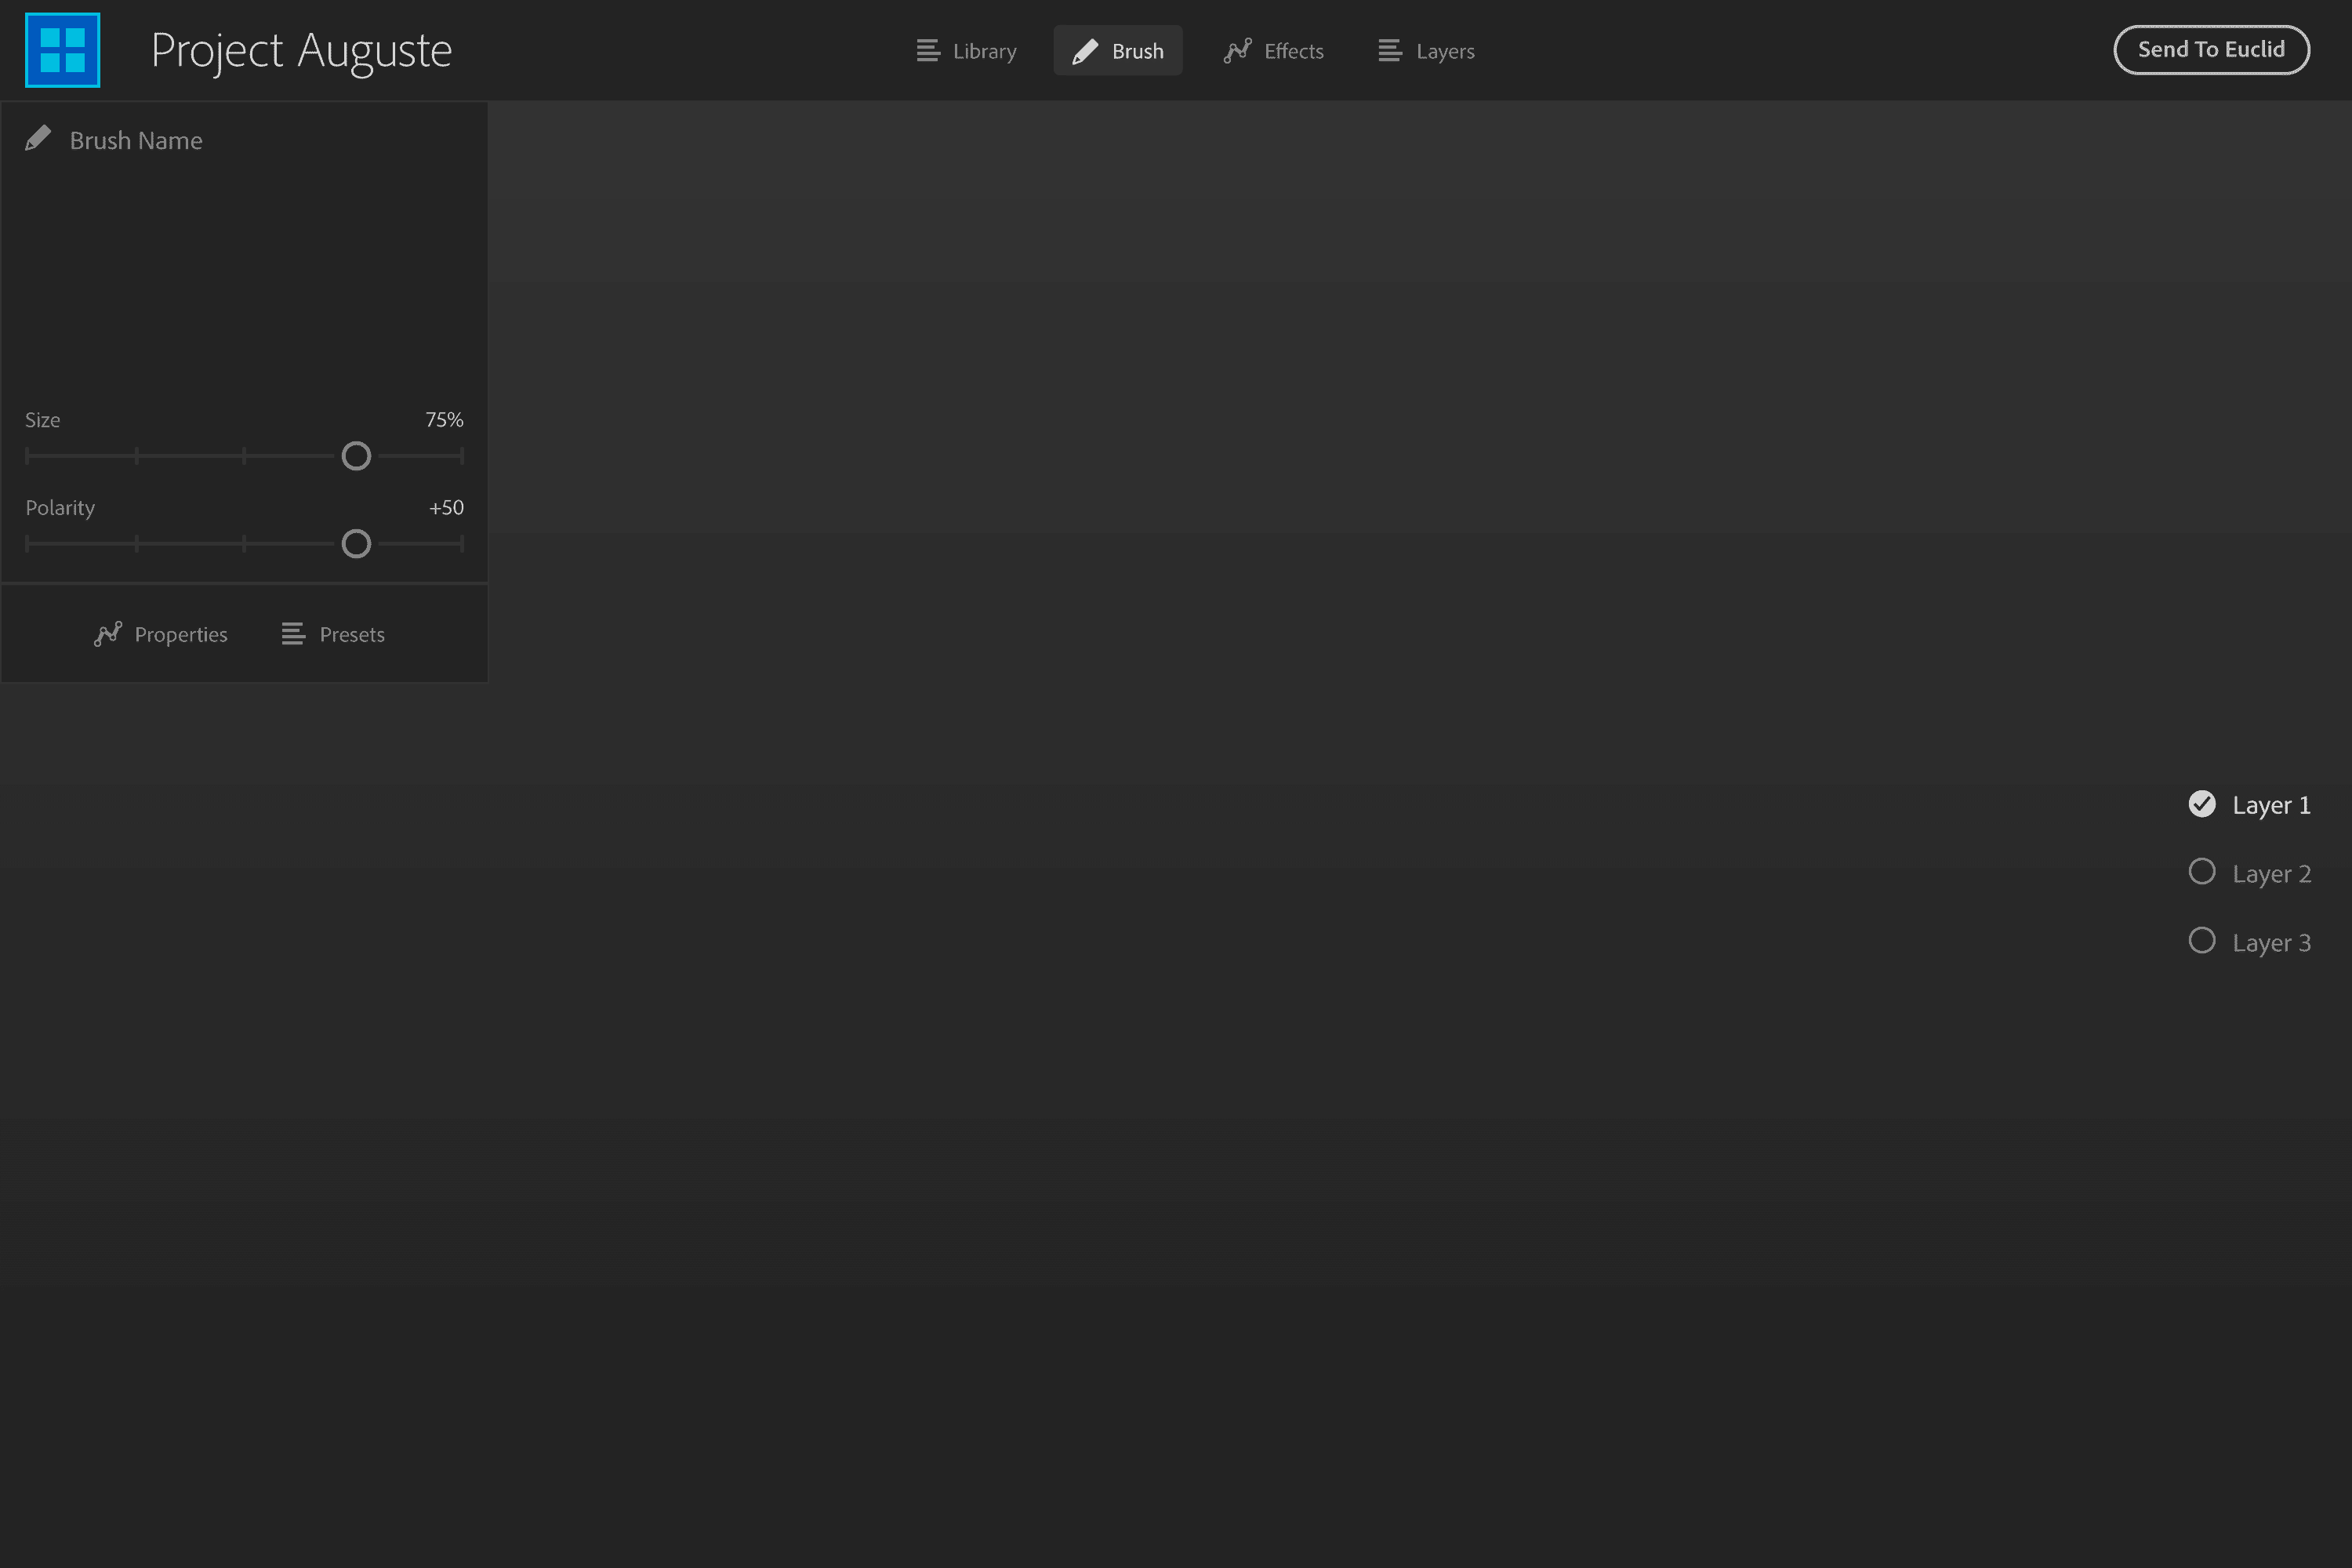
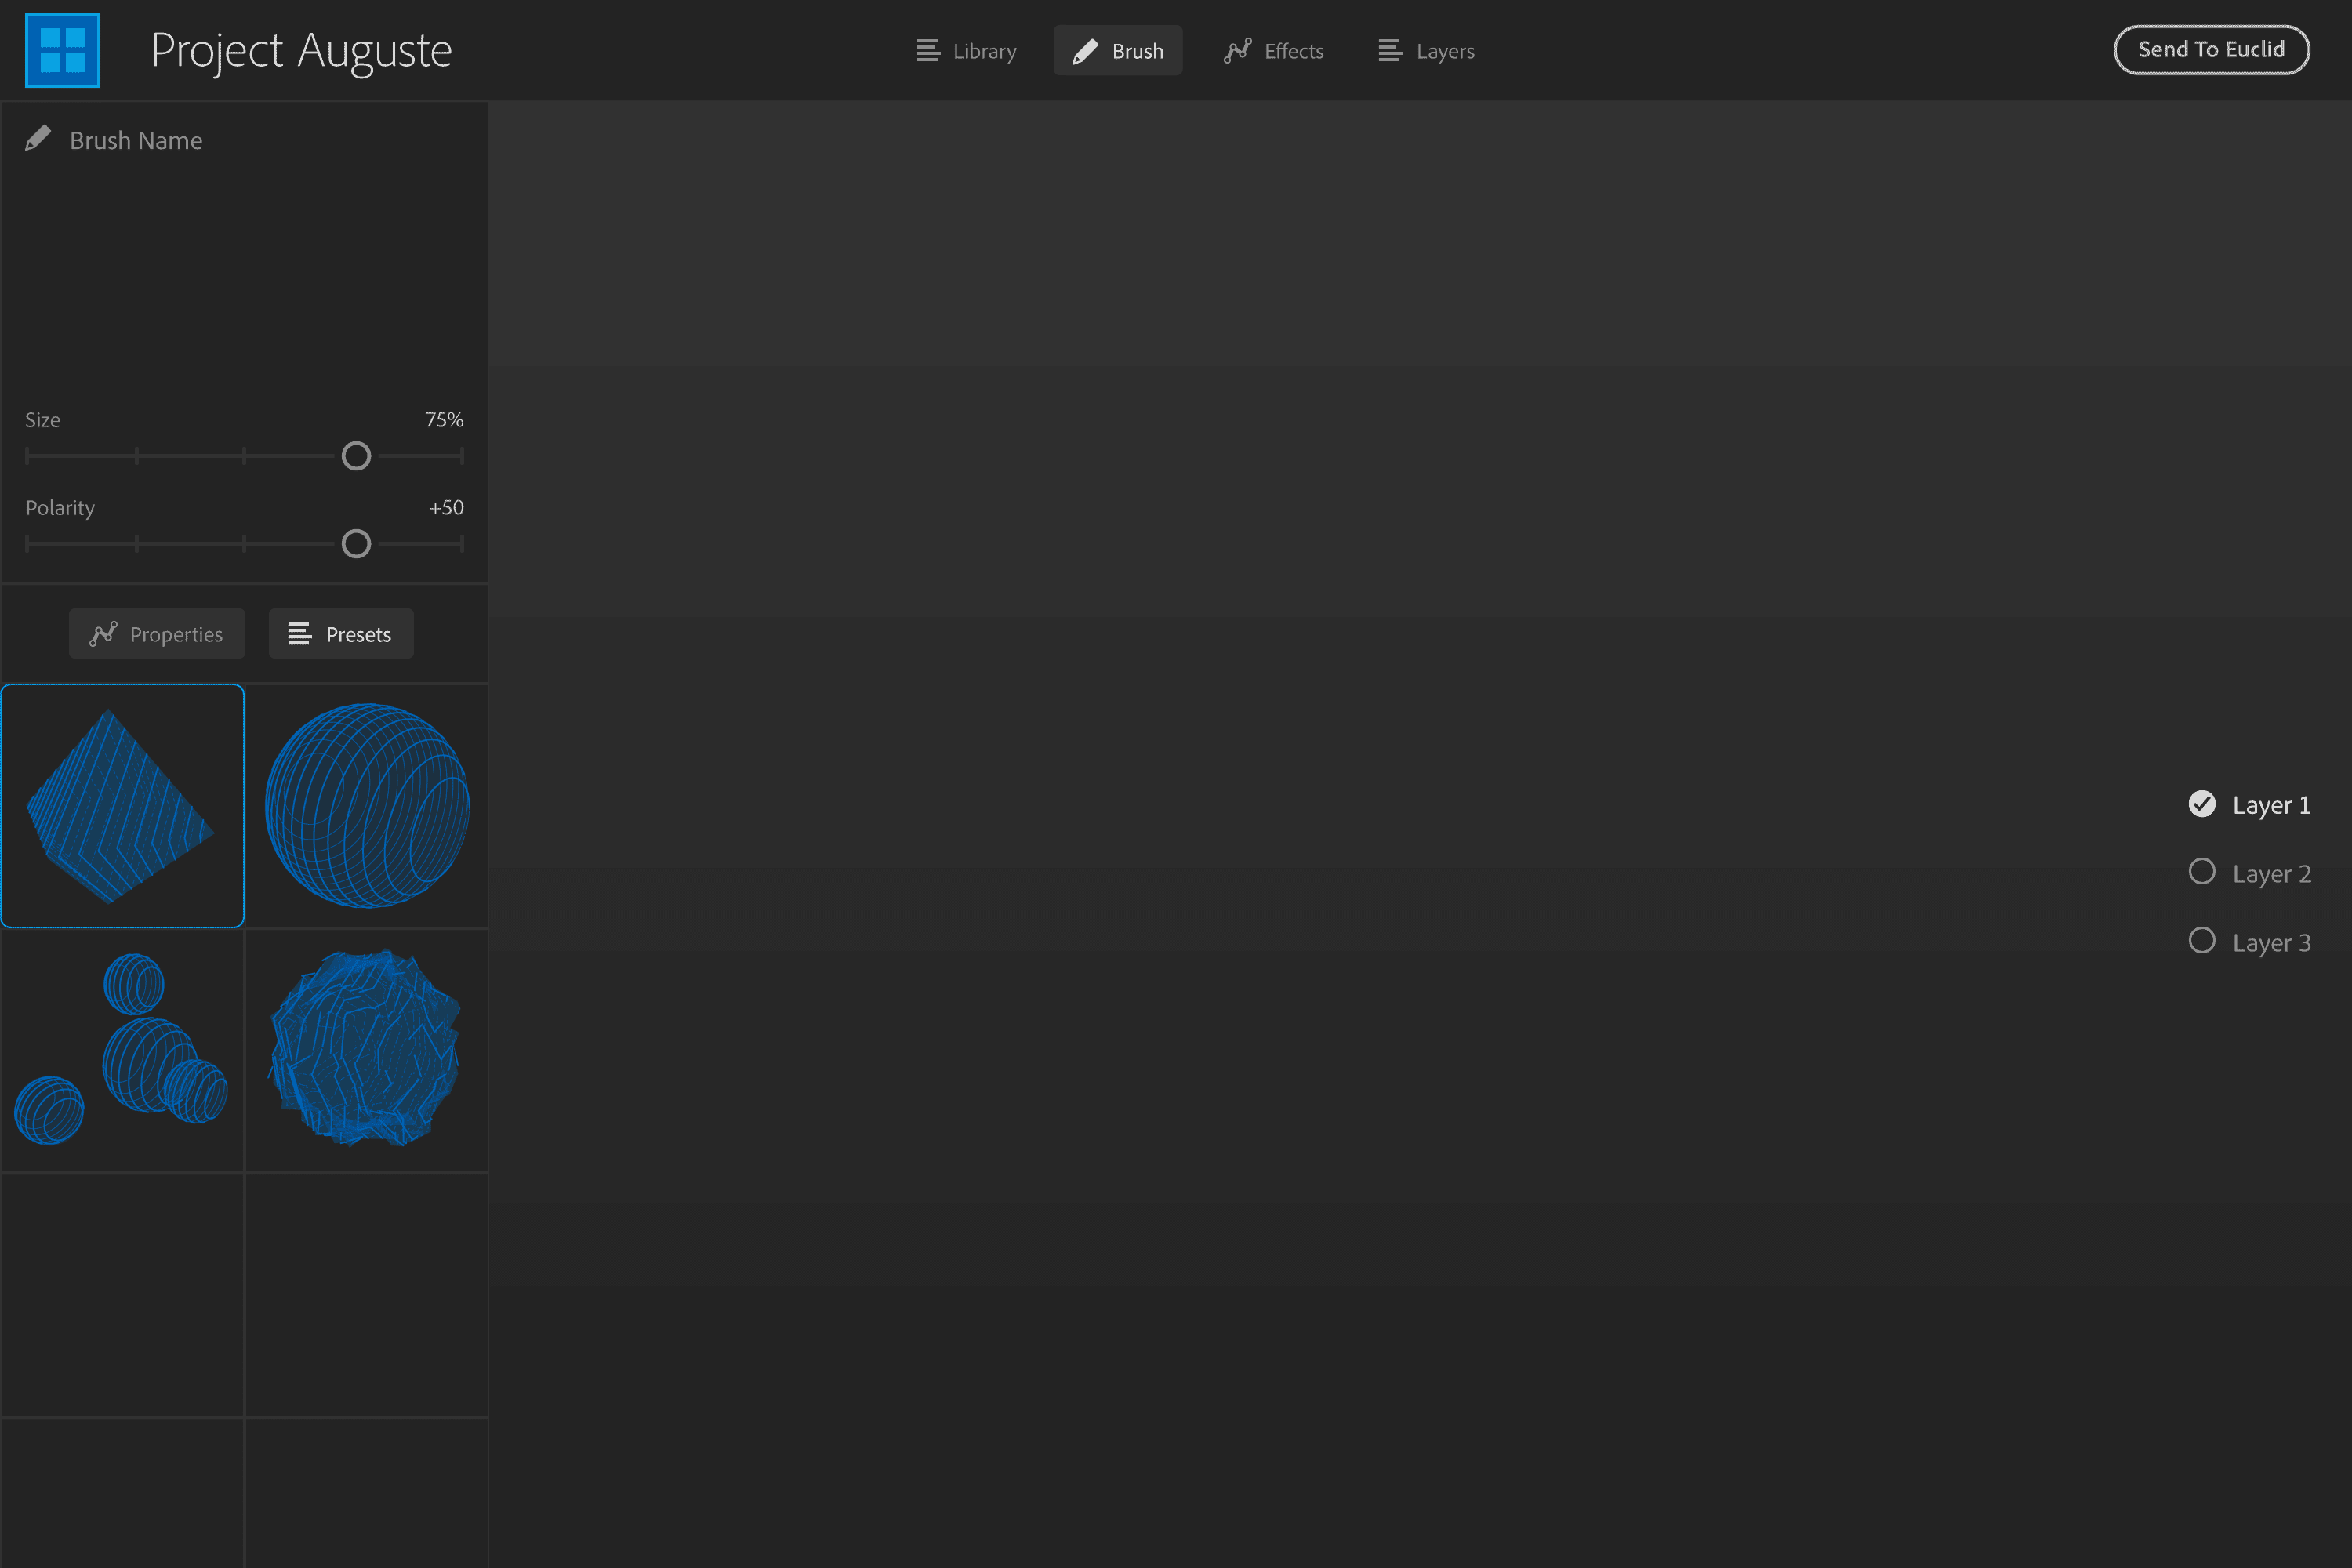
Making a product from a technology demo

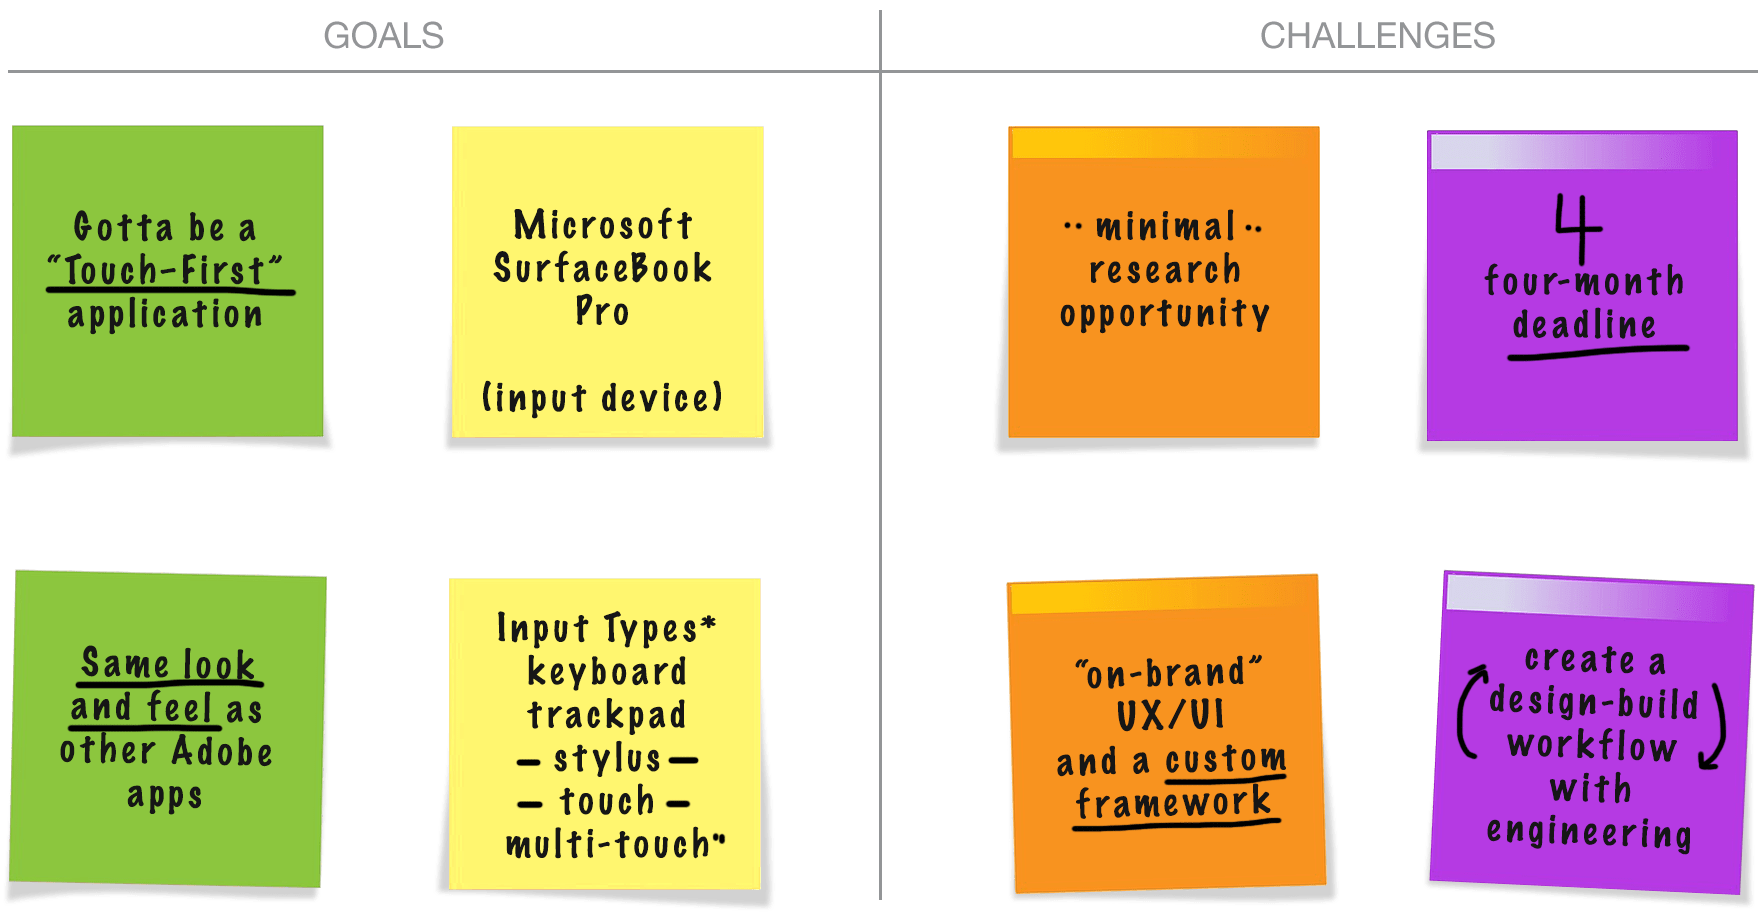
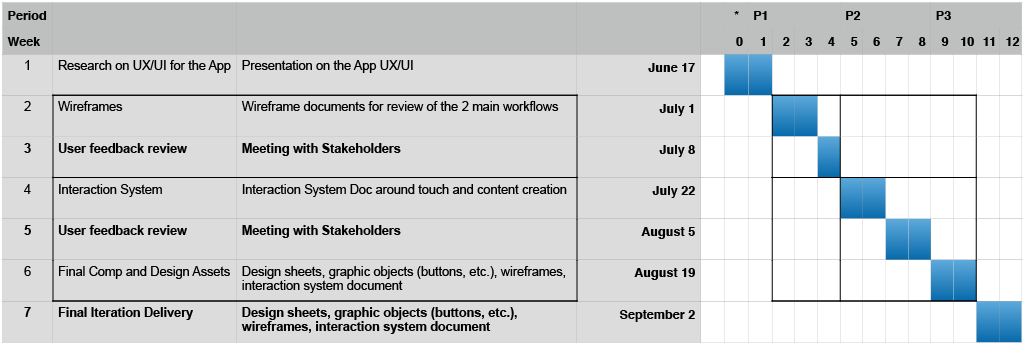
How do you create a new application based on a piece of technology while staying on-brand — all in four months?

Very carefully.

  • Services:
  • Product Design
  • UX Design
  • UI Design
  • Interaction Design
  • Design Strategy
  • Tools:
  • Illustrator
  • Photoshop
  • Atom
  • iWork
  • XD

Reading time: 8 minutes.

Content has been modified or recreated to comply with my non-disclosure agreement and does not necessarily reflect the views of Adobe Systems.

Adobe is changing the world through digital experiences. As augmented reality, 3D and voice are adopted by creatives and consumers alike, Adobe is building intuitive tools that make it possible to easily create for new mediums.

To realize a new concept, Adobe contacted me with a challenge: develop demo software built around a single piece of tech that feels and acts like other world-class Adobe products… in less than four months.

Preserving the status quo is not a winning business strategy.

Shantanu Narayen, Adobe, CEO

Overview

When Stéfano Corazza (Project Manager) contacted me stating he had seen a technology demo from Sebastian Marketsmueller (Engineer) and wanted to make an application out of it. I was excited but wanted to hear more about the technology and who our user would be. What is the purpose?

He provided a user story, about a creative who wants an application that would make it easy to create/paint 3D objects with the potential to be viewed, used, and shared in other apps.

He stated there was a four-month deadline to create a fully functional Microsoft SurfaceBook demo application in time for Adobe MAX. It should be on-brand with the look and feel — but that there was no internal UI framework we could use for this, and that Sebastian would have to build the UI layer on top of his existing tech demo.

I thought about the challenges — understanding the market demands, but with little time for research, a lack of design system (Spectrum was still in it's infancy) and app UI framework, and a tight dealine. Quite a challange. I accepted and we quickly moved forward developing a process and strategy for our small team of three.

The brief resulted in these key takeaways:

Goals

  • Create an easy to use 'touch-first' 3D application.
  • Look and feel like other Adobe products.
  • Develop for the Microsoft SurfaceBook Pro.
  • Work with a stylus and/or touch/multi-touch.

Challenges

  • Very limited research opportunity.
  • Must develop an on-brand UX and a UI framework.
  • Need a rapid or automated design-build workflow*.
  • Complete project within four months.
* The build-design workflow is the loop between designer, handing-off a design change list or updated specification, and engineer, implementing the functionality or feature in the application for testing. This progression can also be started by the engineer with new functionality that can be vetted for a feature. Engineers are creatives too.

The tasks

With our team of three, it was important to keep focus to keep moving the project forward. We outlined initial tasks to keep us all on target.

Research

  • Understand the engineering demo — specifically the technology, functionality, extensibility, and limitations.
  • Explore, and if necessary, implement new user interaction mechanics for SurfaceBook Pro.
  • Understand who the stakeholders are and what their goals and availability are for the project.
  • Understand who the user is, what they would want, and create a persona and user story for them.

Setup

  • Set up live documents (schedules, specs, etc.) for stakeholders.
  • Set up a Trello board for generating and tracking project features, requests, and bugs.
  • Use weekly design sprints with engineering to iterate and test designs, features, and functionality.
  • Creating an asset toolchain and workflow for building the UI — in real-time.

Design. Build. Test. Report. Repeat.

  • Design. Build. Test. Report. Repeat.
  • Storyboard and prototype user journeys and application workflows.
  • Design UI components to align with Adobe’s future application styling.
  • Test application for functional QA and usability.
  • Update documentation for stakeholders.

Deliver

  • Generate final UI assets as a texture atlas and sprite lookup table.
  • Deliver working application on SurfaceBook Pro to demo at MAX.

The Response

This was a big task that had a short time to produce deliverables. Project management, weekly sprints, and a quick and easy approach to building and testing the application during development would be critical to completing the project on time.

Creating a standard set of visual element templates in Illustrator to reflect Adobe’s UI design goals, and to create a workflow for generating sprites and lookup maps for engineering for implementation and testing would provide an efficient and reliable solution to develop the UI/UX quickly.

The process

I used a stripped-down version of IDEO’s Lean UX Design Thinking process to focus on my short-term goals and initial sprints. Since I did not have the research to empathize with the user, I needed to figure out how to identify the user and their motivations. Next, I would need to dream up a branded interface that was flexible to handle new UI elements and functionality. I could then work with Sebastian, and the user data, to refine user workflows, implement the design-build loop, and start building the new application.

Begin with the technology

There are three things I try to understand at the beginning of a project; who are the stakeholders, what is the technology, and what is the relationship between stakeholders and the product. For this project, I started with technology, as it is the core of the project.

What is the technology, exactly?
What is the current and roadmap functionality?
How could the system be extended?
How is the UI presented to the user?
How does or could the user interact with the application?

Sebastian and I spent a day reviewing the technology, the application framework, the current features, and backlogged functionality. We also looked at the input stack and how we could create a branded UI system.

I outlined the Information Architecture diagram for the application workspaces and panels. I also quickly sketched out the main workspace where most user interaction would happen as a launching point to start work on the UI framework.

Understanding the user

Since there was no practical User Research, I had to pull from the sources I had available to me. Stéfano's example user story and my history with Photoshop users gave me an idea of who this user was. But I needed additional information to expand my view of the product and user.

Who is the user?
Why would they want to use this application?
How can we modify the application to provide value for the user?

I decided that conducting guerrilla research with various Adobe employees, being sure to talk to creatives and non-creatives alike, would be the best course of action.

I outlined the following user-feature workflows:

User-feature workflows

  • Start with Object, Paint, apply Filter, change Material.
  • Start with Nothing, Construction Plane, use Symmetry, Save.
  • Start with Object, Lock/Hide Layer, Paint in New Layer. **
  • Start with Object in Layer, Add Object in second Layer, Filter (Weld) (one object). **
** The last two workflow were removed to focus on MVP features. We would address these workflows if we had time to develop and impliment the features.

Initial sketches and concepts

Wireframes and user-application flow

I reviewed all the material available, looked at UI implementations across Adobe's app offerings, and drew upon my experience developing application systems. I used Fireworks and Illustrator to create symbols and element components for the UI assets. I used Illustrator and XD to design the wireframes, illustrate ideas, map user journeys, and start gathering feedback.

Using the gathered user data, we see that the user flow is simple; open an existing file or create a new one, edit (painting), and save. It means there would be two main sections: file management and the main workspace.

The file management screen (Library) would handle all of the document management and sharing functionality. The main workspace would have four main sections; the main canvas area where the user would paint, brushes and properties, layers, and filters.

I started with a simple load screen, then the file management screen, and finally the main application workspace.

I identified four main sections to the main workspace: the main canvas area where the user would paint, brushes and properties, layers, and filters.

  Wireframe click-through from Adobe XD.

Defining the multi-input system

The main goal was to create an interaction system that would allow for various forms of input. This meant defining not only standard input system requirements, keyboard, and mouse/trackpad input, but also stylus and touch — and they had to work together or by themselves.

We utilized the hardware to extend the user experience by using the accelerometer to move the 3D canvas object, and device camera to project the 3D canvas into the real-world.

I worked closely with Sebastian to incorporate the ability to use two-handed input, including overloading the gestures to perform more than one at a time. This allows a user to use one hand to interact with the camera, simultaneously orbiting, rotating, and moving towards or away from the 3D canvas, all while using the other hand (or trackpad, or stylus) to paint in the 3D canvas.

Styling the user interface

Once the basics were in place it was time to proceed with hi-fi comps. The trick was to create comps that would adhere to Adobe’s forthcoming application styling, and which would also act as the template for generating the texture atlas and associated code necessary to rapidly iterate UI changes for testing. I spent time reviewing all of the standards for the new UI I could get my hands on, then started generating a set of components in Fireworks, which I then imported into Illustrator to begin the comp designs

I created a toolchain that would take a CSS with definitions of the sprites, generated by Illustrator, and create a CSV file to be used by engineering for ingestion. This workflow saved time by generating documents and bypassing manual entry.

Putting it all together

Incorporating all of the UI and functionality was a bit tricky, and some of the additional features and UI had to be skipped for the initial internal demo, however, the app itself was well received. A sneak video of the pre-demo release was produced and pushed up to Adobe’s blog before MAX. This was well received by the general public and we quickly began to see great interest in the app itself.

Finally, the completed demo app was produced in time for MAX. The feedback from the users was great — people loved the new tool. It felt intuitive to use and provided a new tool for creatives.

  Adobe's Daichi Ito using an alpha release of Project Auguste on the Surface Pro.

In conclusion

Working on the project was a great experience, and very rewarding hearing user feedback and interest. It had its challenges along the way, but by keeping a living document to track features and assets, and creating tools to enable rapid integration and testing, we were able to accomplish the task in time for the MAX demo.

Although the product was well-received, the interest didn't outweigh the general community feedback:

  • Creative professionals want to use tools like Z-Brush.
  • The target market for the product was more artist/sculptural, as opposed to a creative hobbyist.
  • 3D is still a tough sell for creatives and non-creatives alike and this was too niche.

Because of this, currently, there are no plans to move forward with developing the app or making the app available via Adobe Labs.

Thank you for the quality of work you delivered. It was great and it was fun to work with you.

Stéfano Corazza, Adobe, Sr Director, Engineering (Project Manager)

Next case study
Streamlio
Branding | Web Development | Graphic Design

Building a Better Brand

All startups face the challenge of developing a cohesive brand and online presence.

Contact Information

Contact